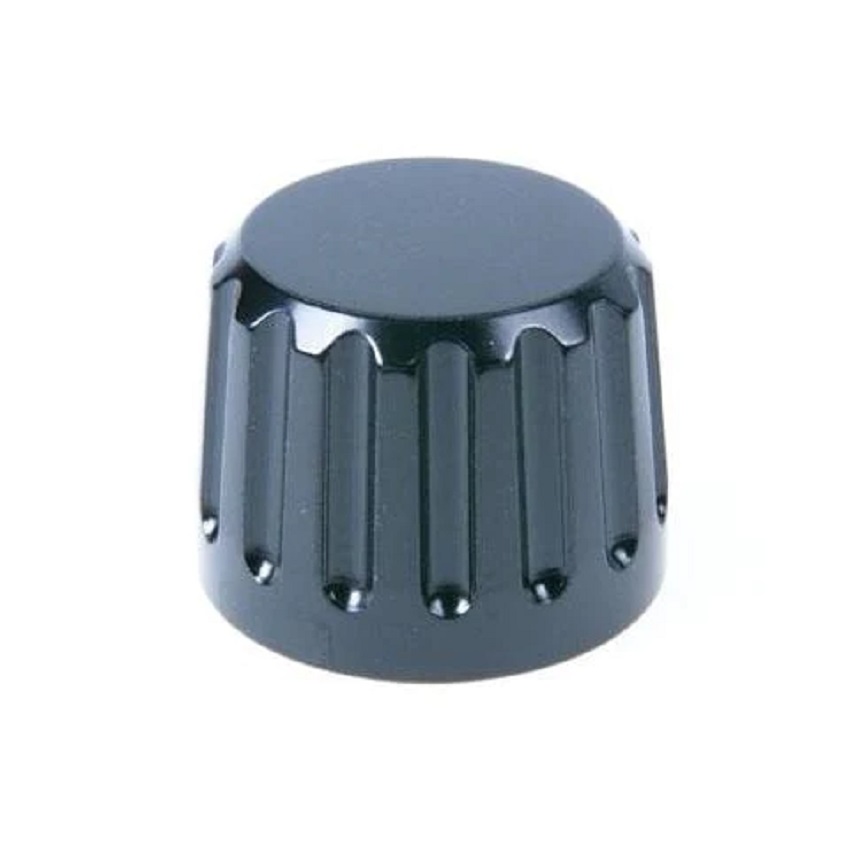
M16 Vacuum Valve II

on stock

€205.00*

4 in stock

Free shipping

Delivery time: 1-3 working days*

Product number: NA25625
Available stock: 4

Installing vacuum valve to housing

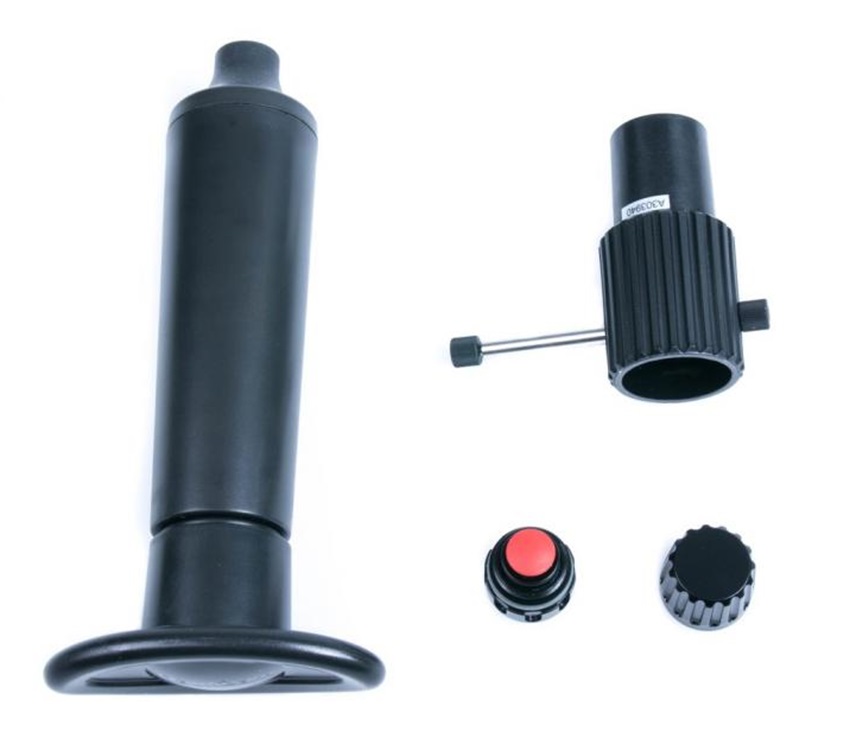
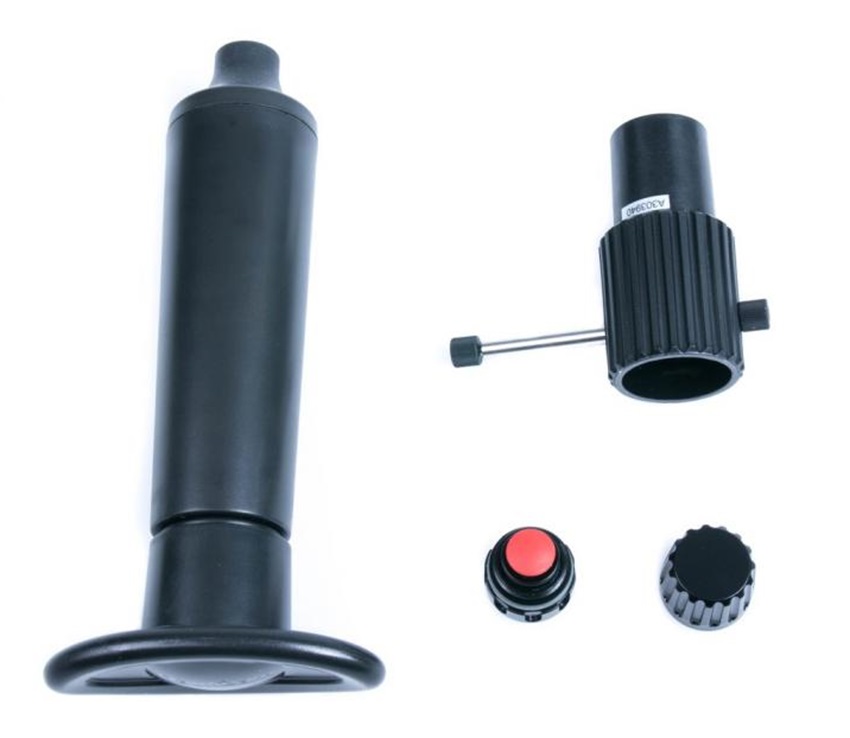
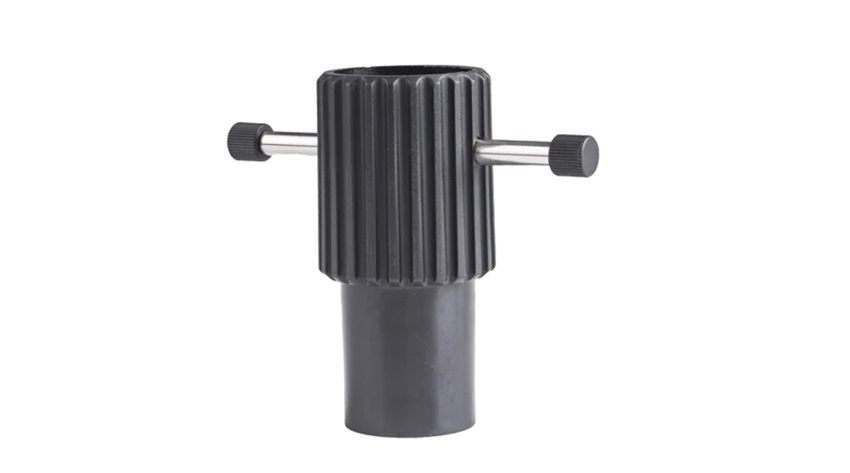
Remove the plug of the M16 accessory port from the housing. Remove the cap from the vacuum valve. Tighten the vacuum valve to the housing with the tool provided.


Building up vacuum

Remove the cap of the vacuum valve. Connect the hand pump to the valve and pump several times until it reaches the target vacuum level. The LED light will turn flashing yellow while vacuum is building up, then steady green when the target vacuum level is reached.

Attention: After the target vacuum is reached, i.e. steady green light, attach the cap back to the vacuum valve.

It is recommended to leave the housing for at least 20mins to ensure it is sealed. If the LED light changes from steady green light to rapidly flashing yellow light, that means there is a leakage and please check every O-ring and conduct the vacuum test again.

Please ensure that the cap is attached back to the vacuum valve before going underwater.

Vacuum can be released by pushing the red release button.

Attention: Please DO NOT attempt to go over the designated vacuum level, i.e. stop pumping when the LED turn green. Excessive vacuum level may lead to the malfunction of the camera and lens.

Note: Although the vacuum indicator is designated to compensate for a certain amount of temperature variation, it is recommended to conduct the vacuum test in an environment where the temperature is stable.


After set up, the meaning of the LED indicator in the housing:

  • Flashing “Blue” light: Standby mode. The moisture alarm is active, and the system is ready for vacuum indication whenever a vacuum is detected.
  • Flashing “Red” light with beeping sound:Moisture is detected.
  • Flashing “Yellow” light: Some vacuum is detected, target vacuum level is not reached.
  • Steady “Green” light: Target vacuum level is reached.
  • Rapidly flashing “Yellow” light: Vacuum is dropping. (Will occur only after target vacuum level is reached)
  • Rapidly flashing “Red” light: Vacuum is totally lost. Circuit stalled until switched off. (Will occur only after target vacuum level is reached)
Body Material: aluminum
Weiterlesen
Technical data

For M16 thread

Scope of delivery

  • M16 Vacuum Valve II (Pushbutton Release) by Nauticam

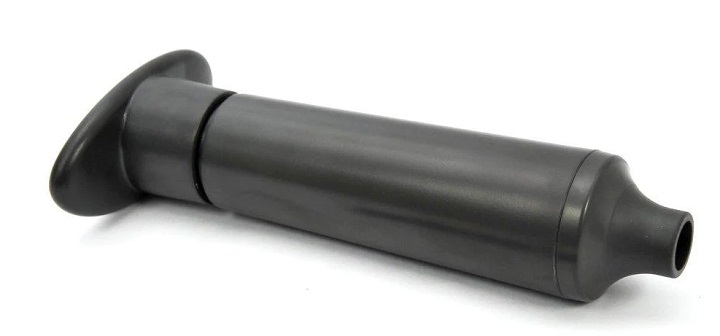
  • Handpump

  • Installationtool


0 of 0 reviews

Leave a review!

Share your experiences with other customers.


Please enter a valid email address.
Please enter a valid question.
Fields marked with * are mandatory.

There aren't any asked questions yet.

Similar products

on stock
M14 Vacuum Valve II
Installing vacuum valve to housing Remove the plug of the M14 accessory port from the housing. Remove the cap from the vacuum valve. Tighten the vacuum valve to the housing with the tool provided. Building up vacuum Remove the cap of the vacuum valve. Connect the hand pump to the valve and pump several times until it reaches the target vacuum level. The LED light will turn flashing yellow while vacuum is building up, then steady green when the target vacuum level is reached. Attention: After the target vacuum is reached, i.e. steady green light, attach the cap back to the vacuum valve. It is recommended to leave the housing for at least 20mins to ensure it is sealed. If the LED light changes from steady green light to rapidly flashing yellow light, that means there is a leakage and please check every O-ring and conduct the vacuum test again. Please ensure that the cap is attached back to the vacuum valve before going underwater. Vacuum can be released by pushing the red release button. Attention: Please DO NOT attempt to go over the designated vacuum level, i.e. stop pumping when the LED turn green. Excessive vacuum level may lead to the malfunction of the camera and lens. Note: Although the vacuum indicator is designated to compensate for a certain amount of temperature variation, it is recommended to conduct the vacuum test in an environment where the temperature is stable. After set up, the meaning of the LED indicator in the housing: Flashing “Blue” light: Standby mode. The moisture alarm is active, and the system is ready for vacuum indication whenever a vacuum is detected. Flashing “Red” light with beeping sound:Moisture is detected. Flashing “Yellow” light: Some vacuum is detected, target vacuum level is not reached. Steady “Green” light: Target vacuum level is reached. Rapidly flashing “Yellow” light: Vacuum is dropping. (Will occur only after target vacuum level is reached) Rapidly flashing “Red” light: Vacuum is totally lost. Circuit stalled until switched off. (Will occur only after target vacuum level is reached)

€205.00*

Spare parts

on stock
Hand pump for vacuum valve
Spare hand pump for vacuum system from Nauticam. Note: Nauticam vacuum valves already come with matching hand pumps.

€41.00*
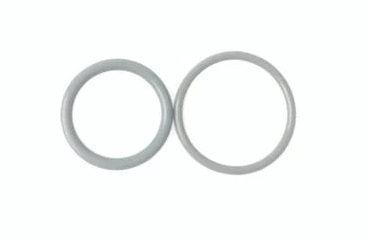
Spare O-ring set for vacuum valve M16
Ersatz-O-Ring-Set für Vakkumventil M16

€15.00*
on stock
Spare cap for vacuum valve II M14/M16
Spare cap for second generation vacuum valves from Nauticam.

€31.00*
on stock
Fastening Tool for Vacuum Valve
Special tool for tightening the vacuum valves NA25624 and NA25625. Caution: this is a spare part. When ordering the vacuum valves from Nauticam, the purchase of this tool is not necessary..

€65.00*