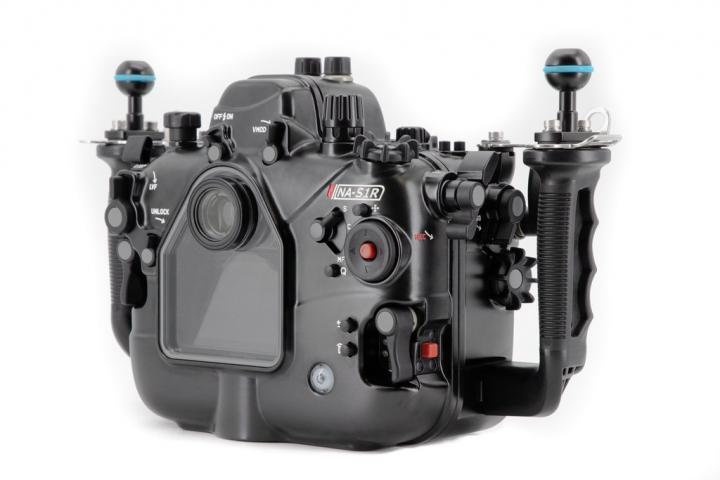
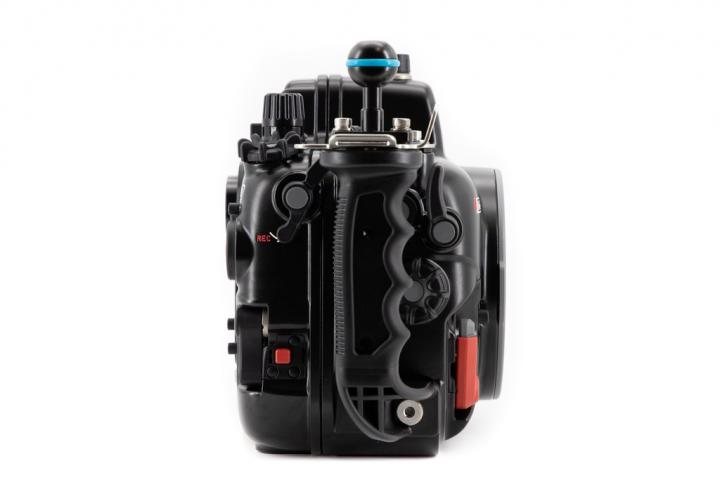
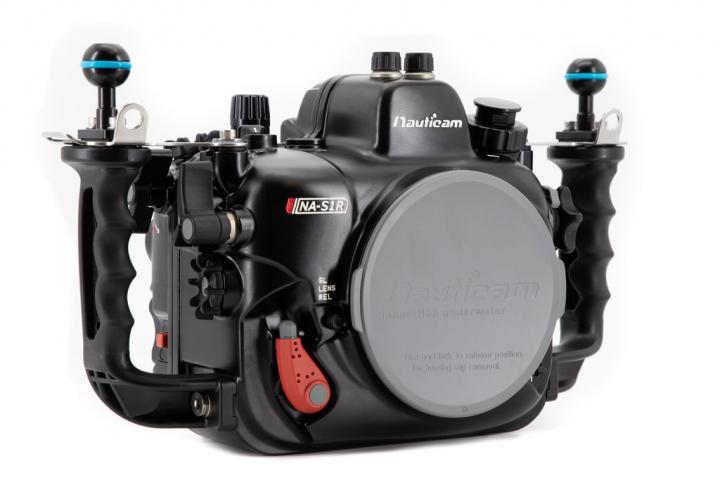
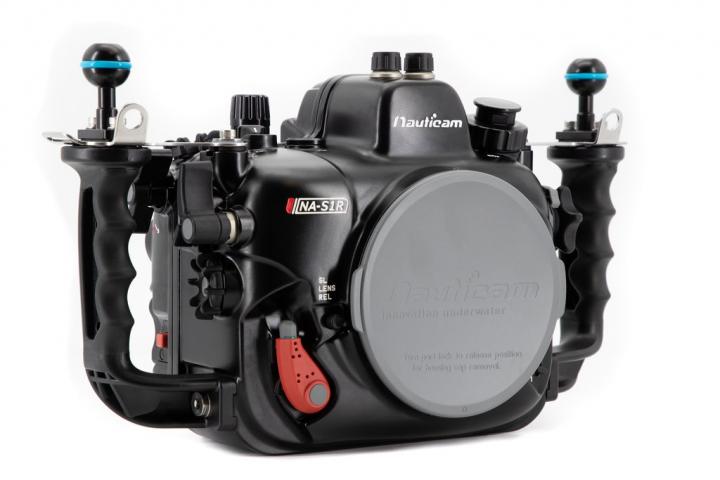
Panasonic Lumix S1/S1R Underwater housing from Nauticam

This item is discontinued. Please find accessories and technical data here.

Product number: NA17718
HAN: NA-S1R

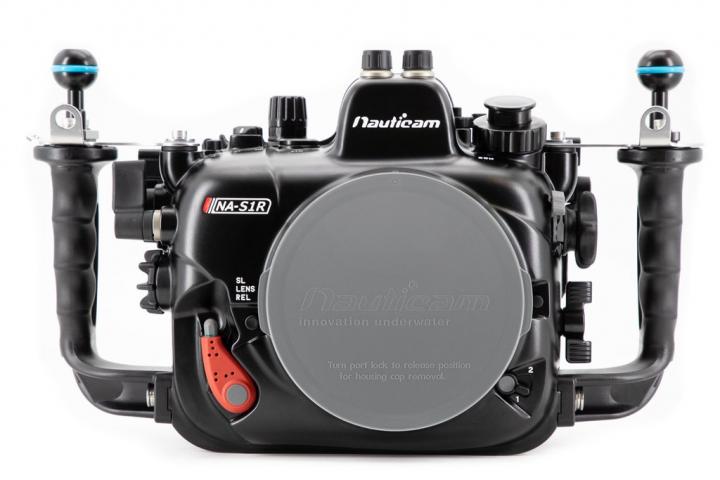
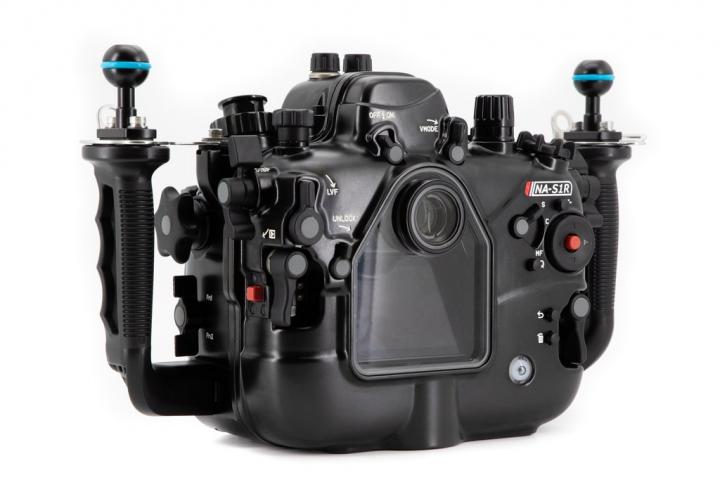
With the ability to accommodate both Panasonic LUMIX S1 and Panasonic S1R cameras, the Nauticam NA-S1R housing offers tremendous versatility to the underwater photographer. Nauticam's drive for innovation and focus on real-world usability is clearly reflected in the NA-S1R's features.  

Although the two cameras may have different strengths, the NA-S1R is designed and built to give both video and photography enthusiasts easy access to all the controls and functions, exactly where they need them.

Operation

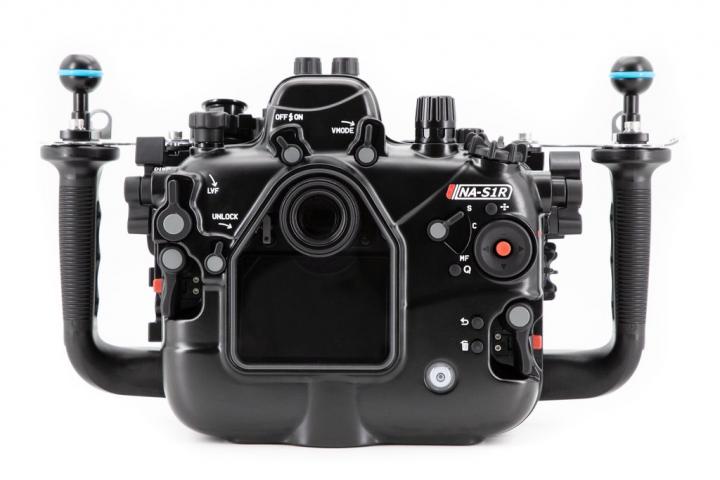
Nauticam engineers are obsessed with ease of use, and the Mission Control philosophy means they place essential controls where they are needed, regardless of where they are on the camera body. By placing the controls as close as possible to the handles and within easy and natural reach, users can concentrate on the composition and timing of their shot while adjusting exposure or focus without taking their eye off the viewfinder or screen.  

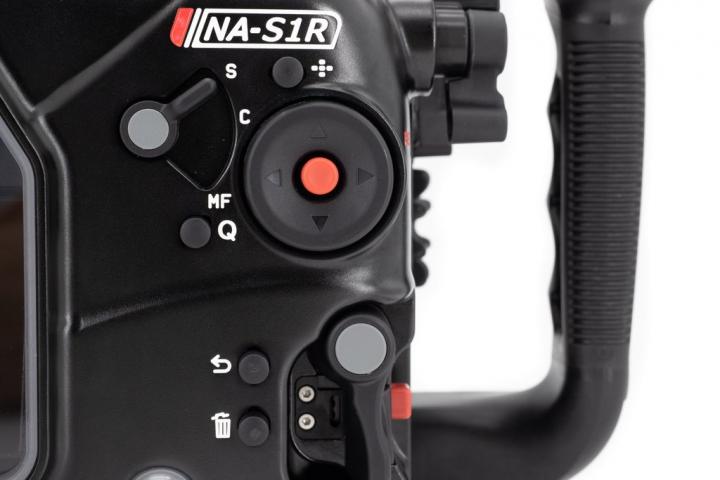
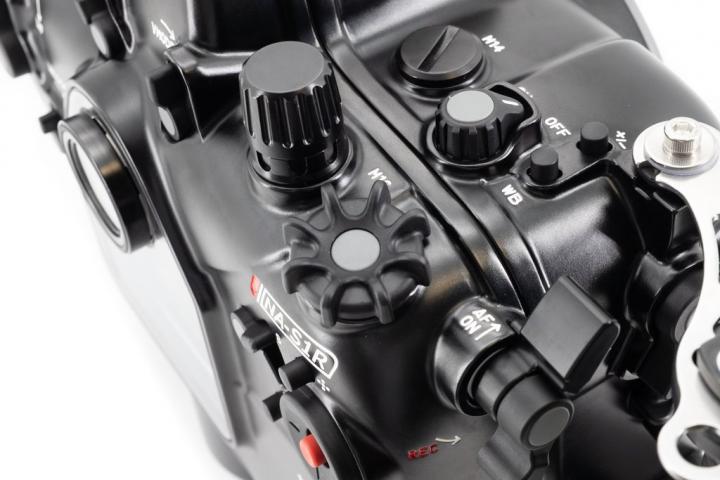
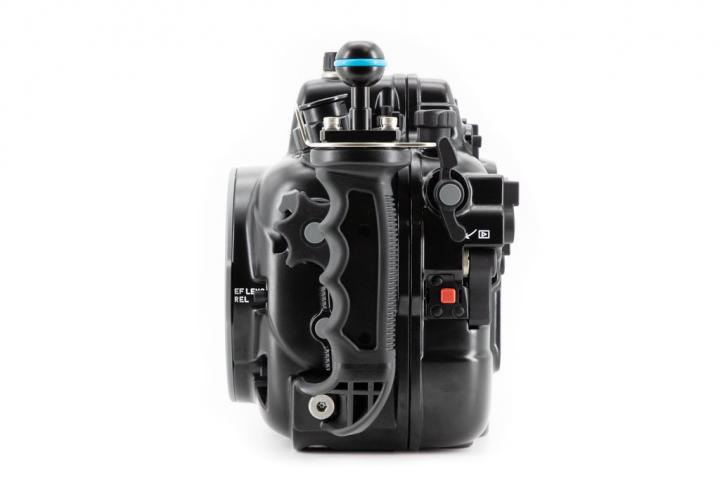
The NA-S1R has a double thumb lever on the left rear of the body that accesses DISP and playback, while a double thumb lever on the left front activates the customisable Fn1 and Fn2 buttons.  A rear thumb lever on the right side is for AF-On and REC.

 A lever on the right side of the NA-S1R allows the focus mode to be switched between C/S/MF and a multi-directional pad that provides the ability to navigate through the menu or move the focus point.

Sigma EF lens support

The MC-21 EF to L adapter from Sigma allows the use of Sigma EF lenses for use with the S1 and S1R cameras. The NA-S1R underwater housing is designed to not only accommodate the adapter, but also to allow the use of the existing focus and zoom wheels for Sigma lenses with Canon mounts, as well as the existing extension ring and port combinations for these lenses.    

Flash release

Optical flash triggering with automatic exposure (TTL) is supported by the Panasonic DMW-FL70 clip-on flash (sold separately). For quick manual flash triggering, the NA-S1R is compatible with the Nauticam Mini Flash Trigger (NA26309), which uses small LED units to trigger external flashes via Nauticam Universal Fibre Optic (26216).

 A TTL flash on/off switch on the top of the housing allows the DMW-FL70 flash unit to be activated or deactivated in water. 

HDMI 2.0 output

To take full advantage of the S1's video capabilities, the NA-S1R features the large-size M28 connector for HDMI 2.0 connections, such as those used on the Atomos Ninja V in conjunction with the Nauticam Atomos Ninja V housing (HDMI 2.0).

Vacuum testing and leak detection system

The Nauticam vacuum testing and leak detection system is supplied with NA-S1R as standard. Combined with an additional vacuum valve (NA25625 or NA25624), this monitoring system provides constant information about the watertight and submersible condition of the enclosure. A simple colour-coded LED lighting system indicates to the user that the vacuum is tight or that the enclosure is losing vacuum. Leak detection is integrated into the same circuit so that an audible and visual indication is given in the event of water ingress.  The Nauticam system is temperature compensated and eliminates false alarms caused by a change in outside temperature or a camera heating up during an action-packed dive.

Recommended 4K recorder/monitor:

NA17922 Nauticam Atomos Ninja V Underwater Housing (HDMI 2.0) for Atomos Ninja V 5 4Kp60 4:4:2 10-bit Recorder/Monitor

NA25078 HDMI 2.0 Cable M28A1R225-M28A1R170 for NA17922 Ninja V Enclosure

Arm Attachment: 1-inch ballhead
Body Material: aluminum
Camera System: Mirrorless (MIL)
Camera manufacturer: Panasonic
Monitor connection: HDMI
Strobe connector: optical INON, optical Sea&Sea
Tripod connection: Thread ¼
portsystem: N120
Weiterlesen
Technical data

  • Dimensions: 363 mm (W) x 215 mm (H) x 153 mm (D)

  • Weight: 3.5 kg (in air)

  • Nominal depth: 100 m

Scope of delivery

  • Panasonic Lumix S1/S1R underwater housing by Nauticam

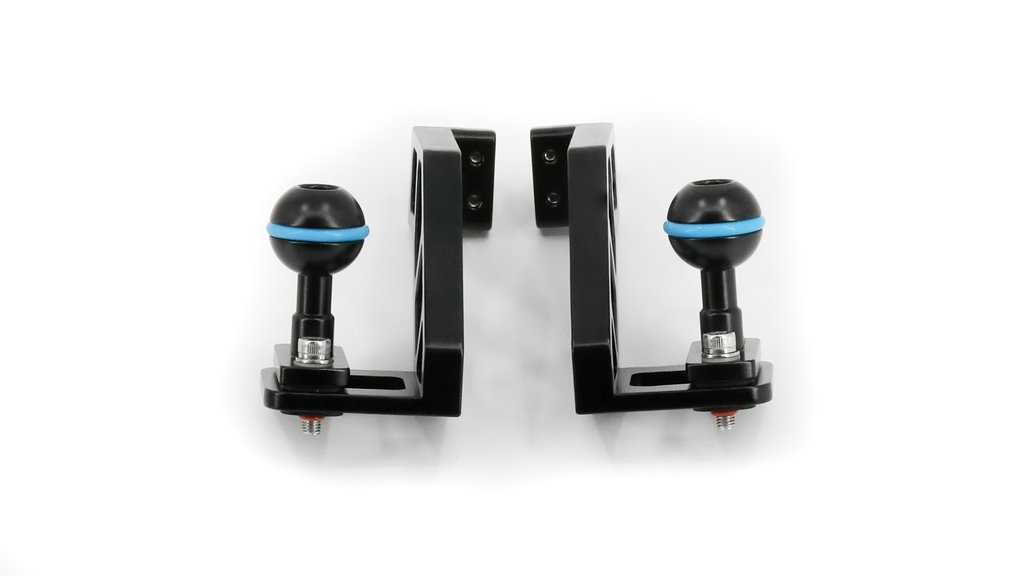
  • 2 handles with 1 inch ball heads

  • Housing O-ring

  • O-ring grease and O-ring remover

  • CR2032 battery (for vacuum system)

  • Allen key set

  • Padded case and shoulder strap

  • Only the components of the ordered item listed here will be delivered. Accessories and/or decoration shown in our pictures are for illustration purposes only. In particular, we would like to point out that often neither a port nor an external viewfinder are included with the purchase of a housing. These can be purchased as accessory items. If you have any questions about the configuration of your system, please contact us. 

0 of 0 reviews

Leave a review!

Share your experiences with other customers.


Please enter a valid email address.
Please enter a valid question.
Fields marked with * are mandatory.

There aren't any asked questions yet.

JTL Cross-selling

Mini Flash Trigger for Panasonic Housings
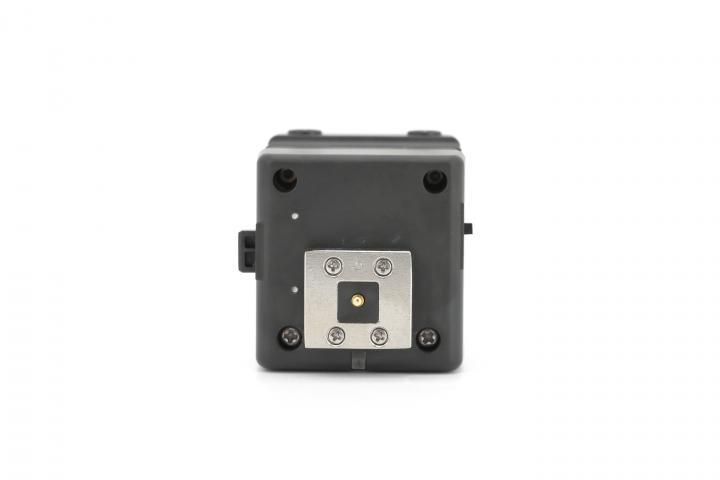
Nauticam flash trigger units allow the use of robust and reliable fiber optic cables to fire external strobes, providing dependable, rapid-fire flash triggering over fiber. Flash triggers allow motor drive shooting sequences, perfect for fast moving action. This flash trigger plugs into the GH5 camera hotshoe and provides an optical signal for fast, continuous strobe firing. Automatic TTL flash control is not supported by this flash trigger, flash power is set manually on the strobe itself.

€295.00*
on stock
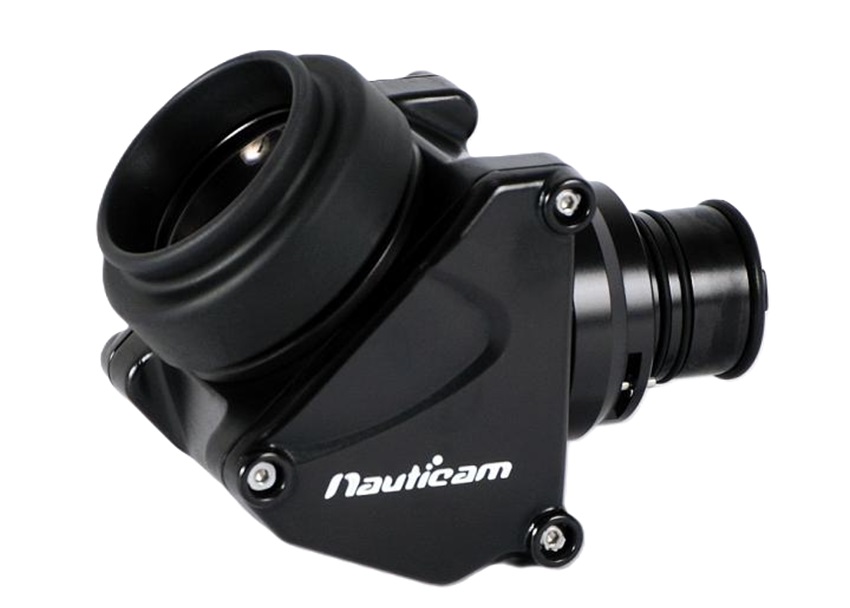
180° viewfinder for Nauticam SLR housings
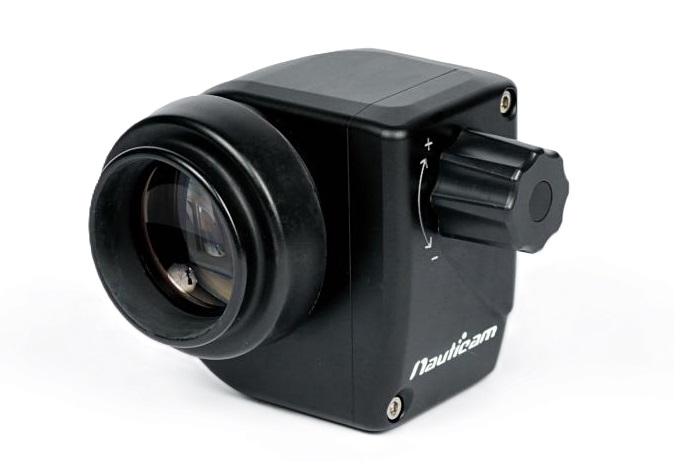
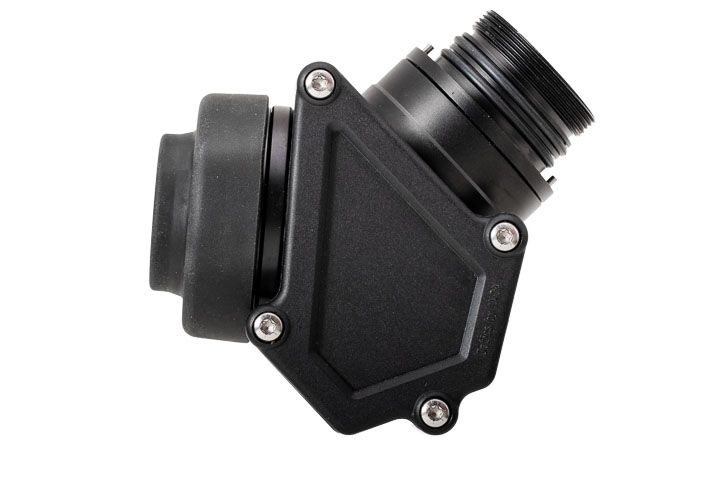
The Nauticam's 180° enhanced straight viewfinder is the perfect complement to your SLR body, providing a bright, clear and undistorted 1:1 image of the camera's viewfinder and is essential for precise focusing and artistic creation. The straight 180º viewfinder also provides more space for your regulator and allows for a more comfortable viewing position. Diopter adjustment The viewfinder has an external knob to compensate for vision; diopter adjustment can be done easily even when you are underwater, no need to disassemble the viewfinder. Robust construction The housing is made of anodised aluminium and all lens elements and prisms in the viewfinder are precision ground and multi-layer coated to ensure optimum light transmission and no distortion. Mounting the viewfinder With Nauticam housings, it is easy to switch between the standard 0.66x and the extended 180° viewfinder, in most cases without tools or adapters.

€1,440.00*
on stock
M14 Vacuum Valve II
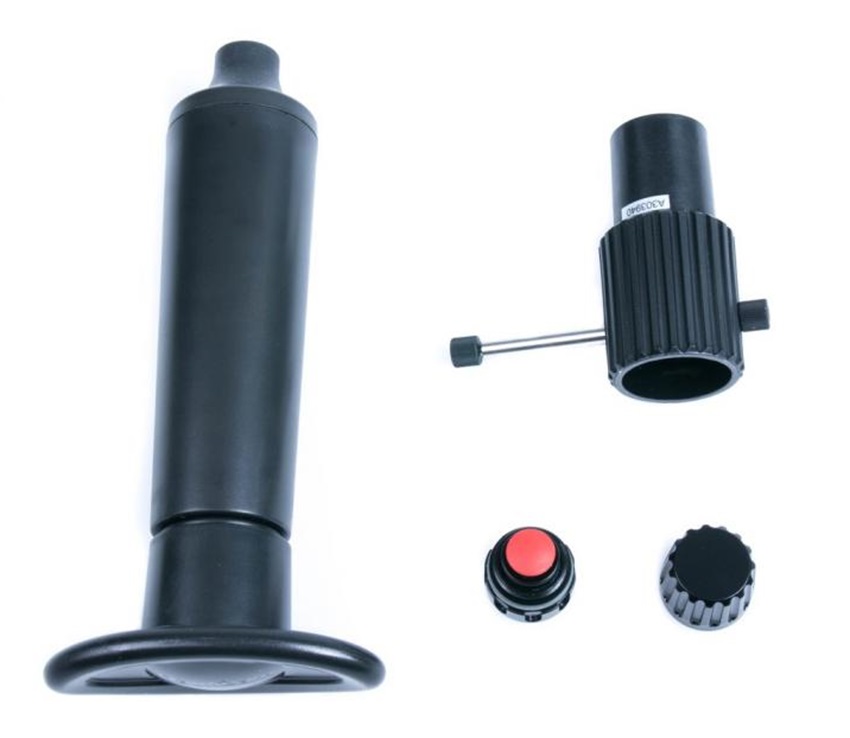
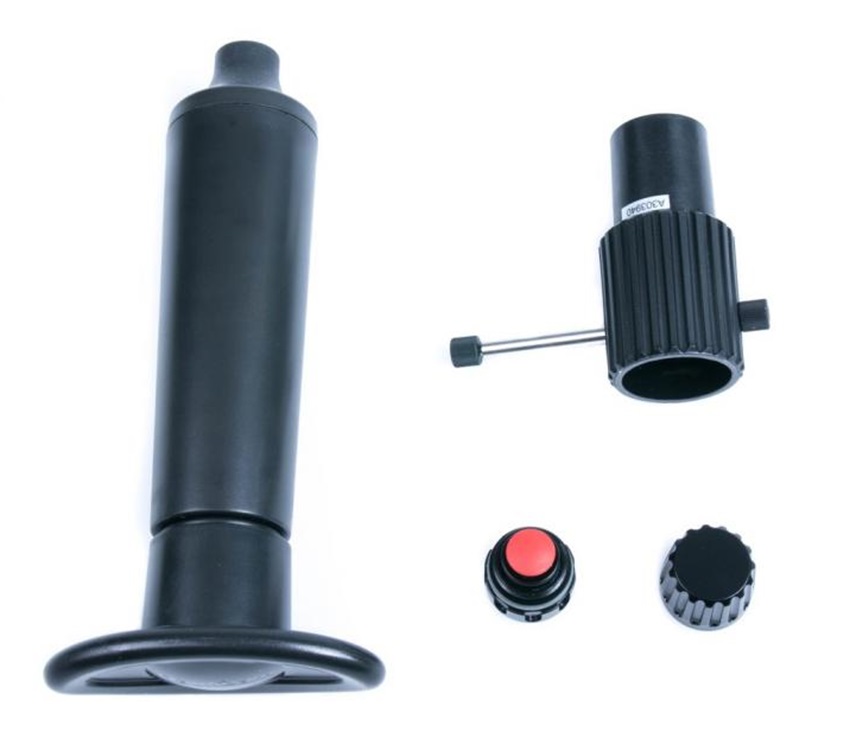
Installing vacuum valve to housing Remove the plug of the M14 accessory port from the housing. Remove the cap from the vacuum valve. Tighten the vacuum valve to the housing with the tool provided. Building up vacuum Remove the cap of the vacuum valve. Connect the hand pump to the valve and pump several times until it reaches the target vacuum level. The LED light will turn flashing yellow while vacuum is building up, then steady green when the target vacuum level is reached. Attention: After the target vacuum is reached, i.e. steady green light, attach the cap back to the vacuum valve. It is recommended to leave the housing for at least 20mins to ensure it is sealed. If the LED light changes from steady green light to rapidly flashing yellow light, that means there is a leakage and please check every O-ring and conduct the vacuum test again. Please ensure that the cap is attached back to the vacuum valve before going underwater. Vacuum can be released by pushing the red release button. Attention: Please DO NOT attempt to go over the designated vacuum level, i.e. stop pumping when the LED turn green. Excessive vacuum level may lead to the malfunction of the camera and lens. Note: Although the vacuum indicator is designated to compensate for a certain amount of temperature variation, it is recommended to conduct the vacuum test in an environment where the temperature is stable. After set up, the meaning of the LED indicator in the housing: Flashing “Blue” light: Standby mode. The moisture alarm is active, and the system is ready for vacuum indication whenever a vacuum is detected. Flashing “Red” light with beeping sound:Moisture is detected. Flashing “Yellow” light: Some vacuum is detected, target vacuum level is not reached. Steady “Green” light: Target vacuum level is reached. Rapidly flashing “Yellow” light: Vacuum is dropping. (Will occur only after target vacuum level is reached) Rapidly flashing “Red” light: Vacuum is totally lost. Circuit stalled until switched off. (Will occur only after target vacuum level is reached)

€205.00*
on stock
M16 Vacuum Valve II
Installing vacuum valve to housing Remove the plug of the M16 accessory port from the housing. Remove the cap from the vacuum valve. Tighten the vacuum valve to the housing with the tool provided.   Building up vacuum Remove the cap of the vacuum valve. Connect the hand pump to the valve and pump several times until it reaches the target vacuum level. The LED light will turn flashing yellow while vacuum is building up, then steady green when the target vacuum level is reached. Attention: After the target vacuum is reached, i.e. steady green light, attach the cap back to the vacuum valve. It is recommended to leave the housing for at least 20mins to ensure it is sealed. If the LED light changes from steady green light to rapidly flashing yellow light, that means there is a leakage and please check every O-ring and conduct the vacuum test again. Please ensure that the cap is attached back to the vacuum valve before going underwater. Vacuum can be released by pushing the red release button. Attention: Please DO NOT attempt to go over the designated vacuum level, i.e. stop pumping when the LED turn green. Excessive vacuum level may lead to the malfunction of the camera and lens. Note: Although the vacuum indicator is designated to compensate for a certain amount of temperature variation, it is recommended to conduct the vacuum test in an environment where the temperature is stable.   After set up, the meaning of the LED indicator in the housing: Flashing “Blue” light: Standby mode. The moisture alarm is active, and the system is ready for vacuum indication whenever a vacuum is detected. Flashing “Red” light with beeping sound:Moisture is detected. Flashing “Yellow” light: Some vacuum is detected, target vacuum level is not reached. Steady “Green” light: Target vacuum level is reached. Rapidly flashing “Yellow” light: Vacuum is dropping. (Will occur only after target vacuum level is reached) Rapidly flashing “Red” light: Vacuum is totally lost. Circuit stalled until switched off. (Will occur only after target vacuum level is reached)

€205.00*
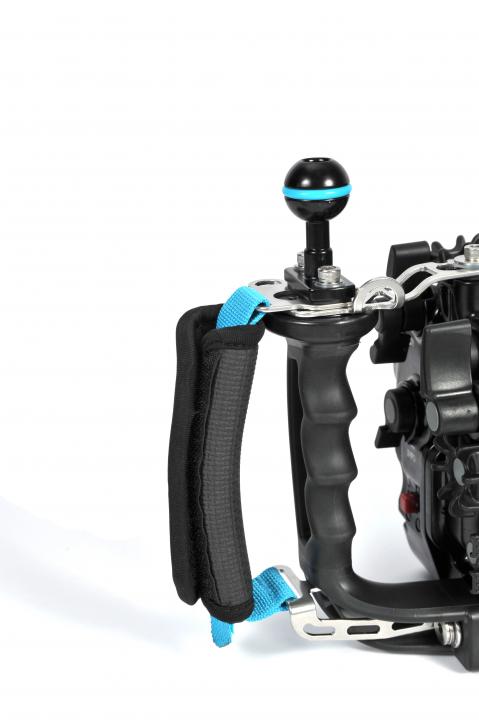
Handschlaufe für Standard-Handgriffe
Dieser Handschlaufe wird am Griff 28113 befestigt, der auf den folgenden Gehäusen mit den Standardgriffen wie z.B.: NA-1DXII, D500, D5, 80D, 5DIV und A9.

€45.00*
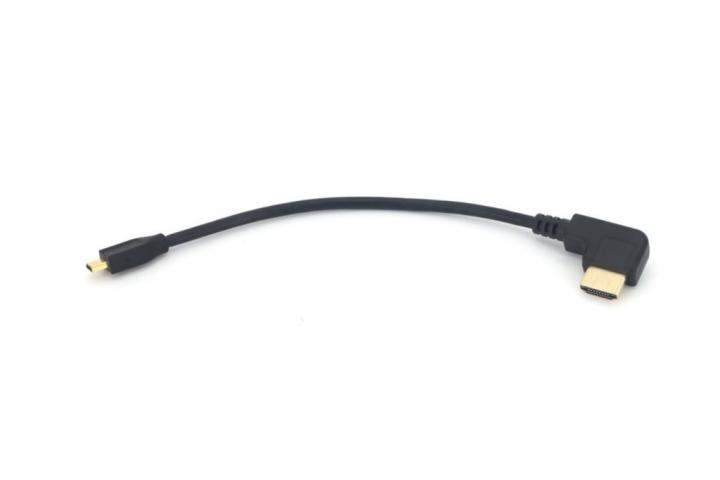
HDMI (D-A) 1.4 Cable in 240mm Length
HDMI (D-A) Cable in 240mm Length (for internal connection from HDMI bulkhead to camera)

€85.00*
45° viewfinder for Nauticam SLR housing
Nauticam's improved 45°angle viewfinder is the perfect complement to your housing, providing a bright, clear and undistorted 1:1 image of the camera's viewfinder, as well as a 45°viewing angle. The viewfinder can be rotated to any angle, which is important when shooting in a vertical orientation. The 45º viewfinder also provides more clearance for your regulator, allowing for a more comfortable viewing position. Introducing the NAUTICAM 45° VIEWFINDER . Long- or short-sightedness? The viewfinder features an external knob for vision compensation; easy diopter adjustment can now be made underwater without disassembling the viewfinder . Proven design The body is made of anodised aluminium and all lens elements and prisms in the viewfinder are precision ground and multi-layer coated to ensure optimum light transmission and no distortion . INSTALLING THE SEARCHER . With Nauticam housings, it is easy to switch between the standard 0.66x and Enhanced 45° viewfinder, in most cases without tools or adapters. With optional adapter kits, it can also be adapted to the housings of Ikelite, Aquatica, Sea & Sea and Nexus. Note: Because some newer camera models have higher magnifications and a decreasing eye point, there may be a slight reduction in view from edge to edge when using a Nauticam magnification viewfinder. The extent varies, but the benefits of the magnification viewfinder remain.

€1,210.00*
on stock
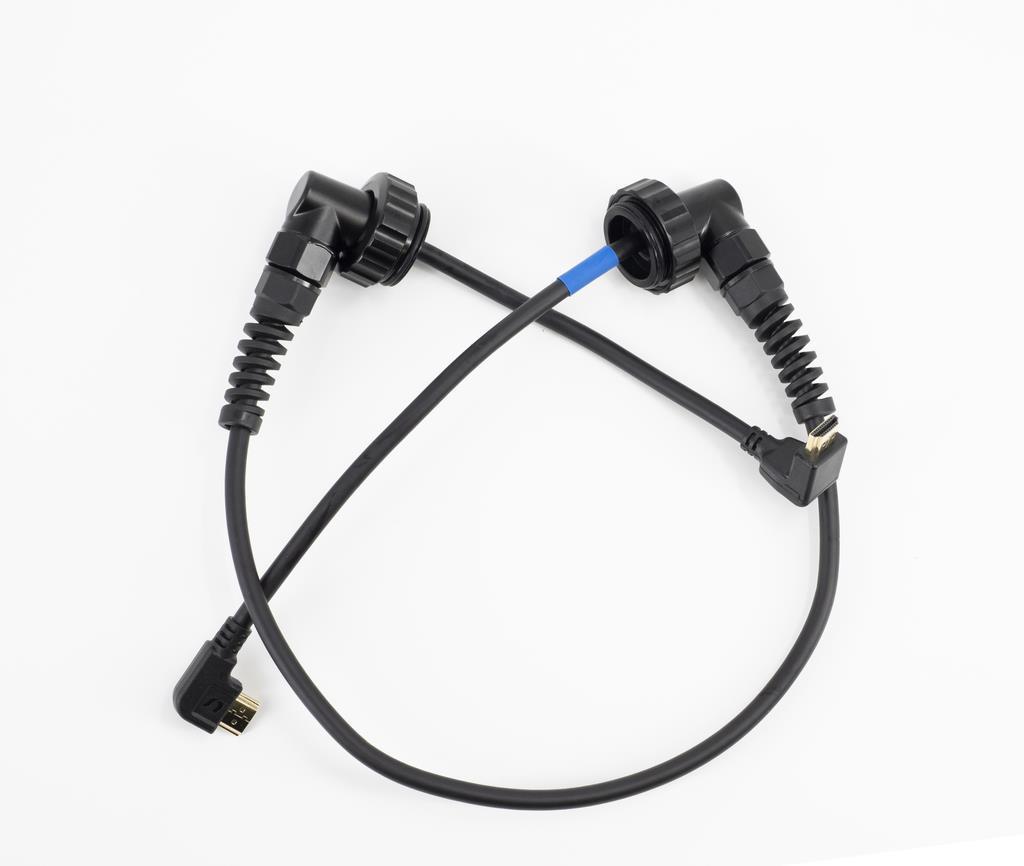
M28A1R225-M28A1R170 HDMI 2.0 Cable
HDMI 2.0 Kabel für NA-BMPCCII und NA-S1R Unterwassergehäuse zur Verwendung mit NINJA V Gehäuse von Nauticam

€315.00*
Monitor Housing Mounting Adaptor
This kit replaces the standard handle top plates to allow the mounting of Nauticam monitor housings to compatible Nauticam underwater housings.

€190.00*
on stock
45 °Viewfinder Unit II for Nauticam by INON
This viewfinder can be used at all DSLR Underwater Housings by Nauticam. It also fits at: Sony: α1 / A9 / A7RV / A7IV / A7SIII / α2020 / A7RIV / A7RIII / A7II / A7 Nikon: Z9 / Z7 / Z7Ⅴ / Z7II / Z50 Canon: R5C / R3 / R5 / R6 / R7 / EOS R Fujifilm: XT4 / XT3 / GFX100S / GFX100 / GFX50S Panasonic: NA-S1R, NA-S1H Olympus: EM1X The viewfinders are bundled with dedicated tool to remove preinstalled Nauticam viewfinder and install INON viewfinder for self installation. You can refer to instruction movie in addition to the user manual. If you do not have confident on self installation, please contact us for advice. Olympus: NA-EM1X

€599.00*